Introduction to DIY Home Repairs
As a homeowner in Royse City, Texas, keeping your home in top shape is a priority. While some repairs require professional expertise, there are many simple fixes you can handle yourself. Not only does this save time and money, but it also empowers you to maintain your home efficiently. D&K Demo and Handyman is here to guide you through some beginner-friendly repairs that you can tackle with confidence.
Essential Tools for Home Repairs
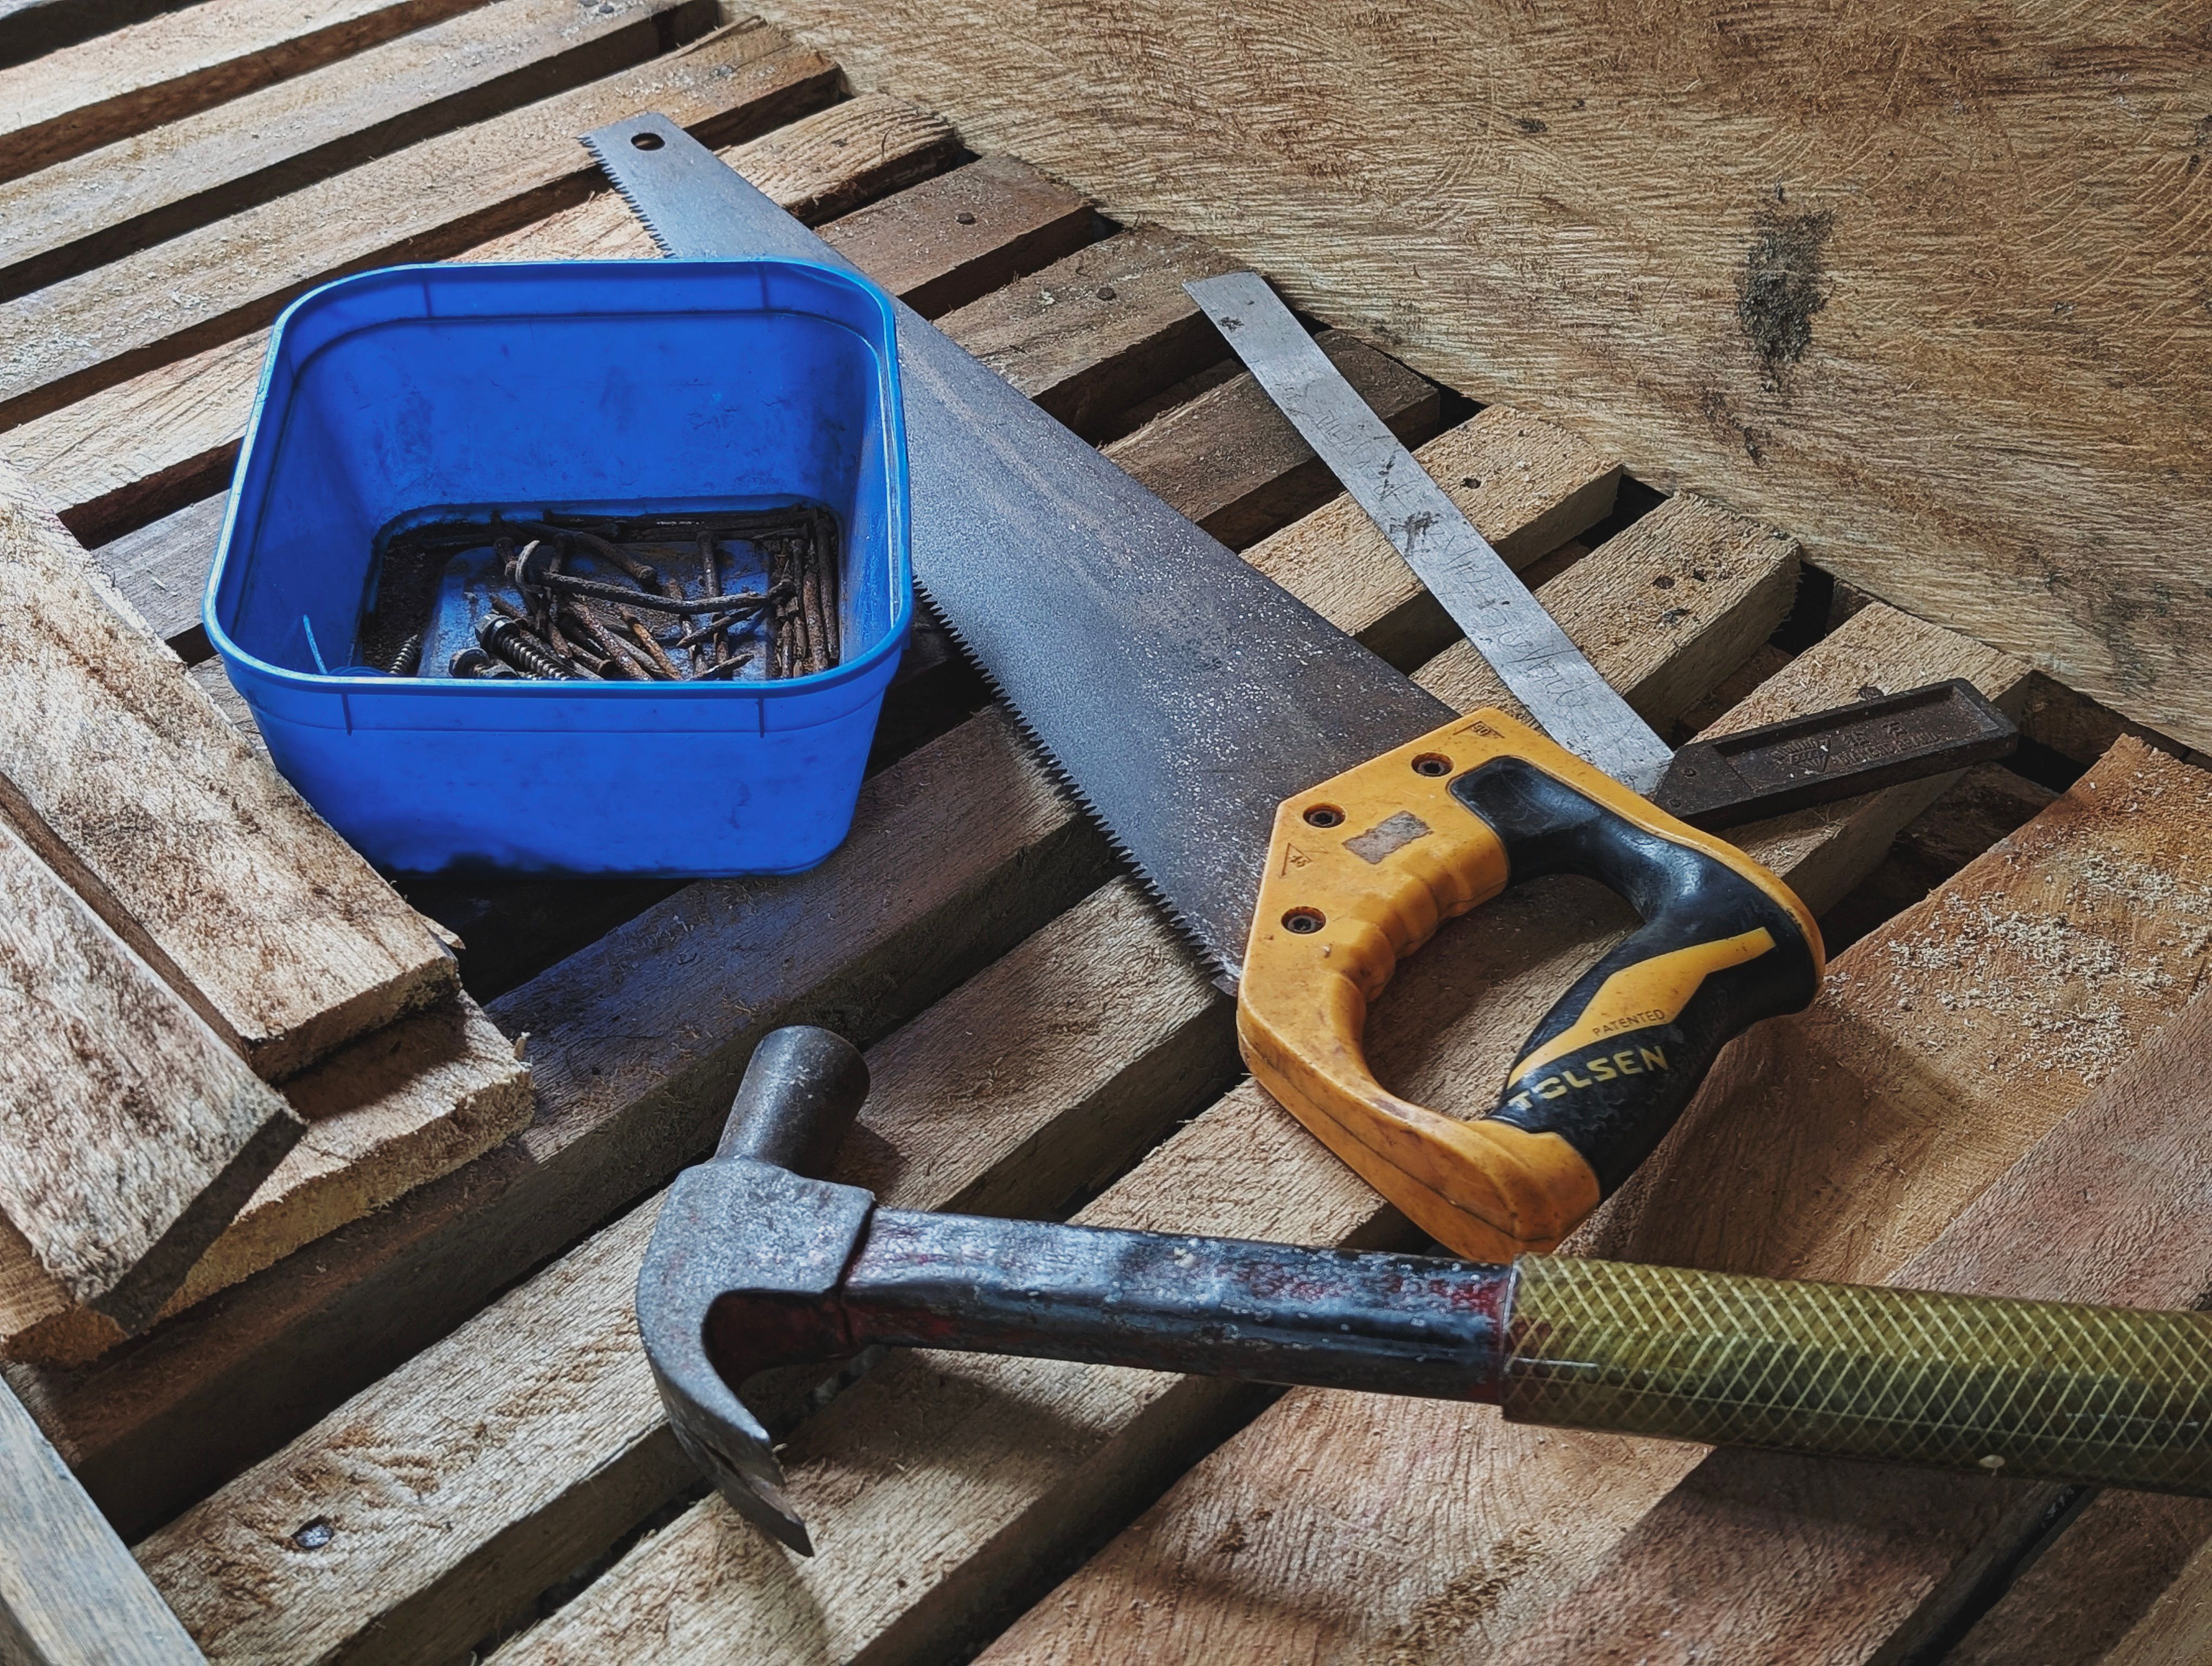
Before diving into repairs, it's crucial to have the right tools. Here's a list of basics every homeowner should have:
- Hammer: For driving nails and small demolition tasks.
- Screwdriver Set: Both flathead and Phillips for various screws.
- Adjustable Wrench: For plumbing and tightening nuts and bolts.
- Utility Knife: For cutting materials and opening packages.
- Tape Measure: For precise measurements during repairs.
- Level: Ensures your installations are straight and even.
- Flashlight: Necessary for dark or hard-to-reach areas.
Fixing a Leaky Faucet
A leaky faucet is a common issue that can waste water and increase your utility bills. Here's a step-by-step guide to fixing it:
Step 1: Identify the Type of Faucet
Determine whether you have a compression faucet or a ball, cartridge, or ceramic-disk faucet. This will dictate the type of repair needed.
Step 2: Shut Off the Water Supply
Locate the shut-off valves under the sink and turn them off. This prevents water from spilling while you work.
Step 3: Disassemble the Faucet
Use a screwdriver to remove the handle and expose the inner workings. Carefully note the order of disassembly for reassembly later.
Step 4: Replace the Washer or Seal
For compression faucets, replace the washer. For other types, look for worn seals or O-rings and replace them.
Step 5: Reassemble and Test
Put the faucet back together and turn the water supply back on. Check to ensure the leak is fixed.
Patching Small Holes in Walls
Small holes in drywall are unsightly but easy to repair. Follow these steps:
Step 1: Gather Materials
You will need spackle, a putty knife, sandpaper, and paint that matches your wall color.
Step 2: Clean the Area
Use a damp cloth to remove dust and debris from the hole.
Step 3: Apply Spackle
Use the putty knife to apply spackle over the hole, smoothing it out to be flush with the wall.
Step 4: Sand and Paint
Once the spackle is dry, sand it smooth and paint over the area to match the rest of the wall.
Unclogging a Slow Drain
Clogged drains are a nuisance, but often easy to fix. Here’s how:
Step 1: Use a Plunger
For sinks, a plunger can dislodge clogs. Ensure there is enough water in the sink to cover the plunger cup and plunge vigorously.
Step 2: Baking Soda and Vinegar
Pour a cup of baking soda followed by a cup of vinegar down the drain. Let it sit for an hour, then flush with hot water.
Step 3: Use a Drain Snake
If the above methods fail, a drain snake can reach deeper clogs. Insert the snake into the drain and rotate until the clog is cleared.
Conclusion: When to Call the Professionals
While these tips can handle many minor home repairs, there are situations where calling a professional is the best choice. D&K Demo and Handyman is ready to assist with more complex issues, ensuring your home remains a safe and comfortable haven. Whether it’s a major renovation or an intricate repair, our team in Royse City is here to help.
For more tips and professional assistance, contact D&K Demo and Handyman today!